

For many licensed nail technicians, speed and durability often feel like they’re in competition. Fast services can compromise structure, while strong enhancements can slow down the appointment. CND PLEXIGEL application quietly changes that equation.
As a brush-in-a-bottle gel system designed specifically for professional use, PLEXIGEL delivers reinforcement, shape, and longevity—without the bulk or time commitment of traditional hard gels.
Whether you’re working behind a salon desk or setting up in a client’s living room, mastering this system means fewer callbacks, less lifting, and more confident results.
- What You’ll Need for the Perfect Application
- CND PLEXIGEL Application – From Prep to Finish
- Mobile Nail Tech Tips: Mastering PLEXIGEL on the Go
- CND PLEXIGEL Troubleshooting
- FAQs
What You’ll Need for the Perfect Application
CND PLEXIGEL Kit List
Before diving into the step-by-step process, let’s make sure you have everything you need for a successful CND PLEXIGEL application:
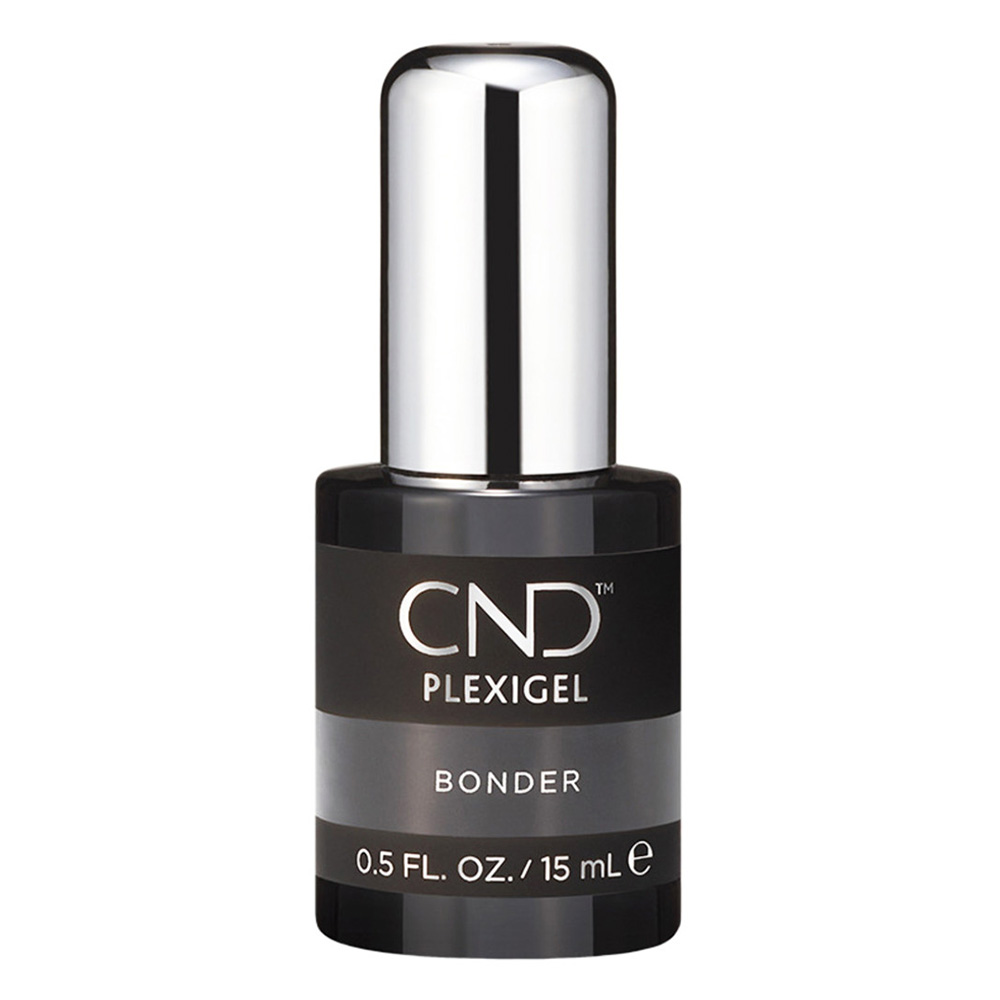
- CND PLEXIGEL Bonder – Creates a strong base for adhesion.
- CND PLEXIGEL Shaper or Builder Gel – Choose based on whether you’re doing a natural nail overlay (Shaper) or sculpting extensions (Builder).
- CND PLEXIGEL Protector Top Coat – Adds the final layer of protection and high-gloss finish.
- CND LED Lamp – For curing each layer efficiently (buttons 1, 2B, and 3).
- CND ScrubFresh – For nail plate prep and cleaning.
- CND CoolBlue – To sanitize nails.
- 99% Isopropyl Alcohol (IPA) – For removing the sticky top film after curing.
- CND SolarOil – For post-treatment cuticle care.
View this post on Instagram
 (@cndworld)
CND PLEXIGEL Application – From Prep to Finish
Step 1: P.R.E.P. – Nail Preparation Is Key
Proper prep is crucial for a lasting CND PLEXIGEL application. Follow these steps:
- Cleanse: Start by having your client wash their hands. Follow up with CND CoolBlue to sanitize their nails and surrounding skin.
- Manicure: Push back the cuticles gently and remove any non-living tissue with a cuticle pusher.
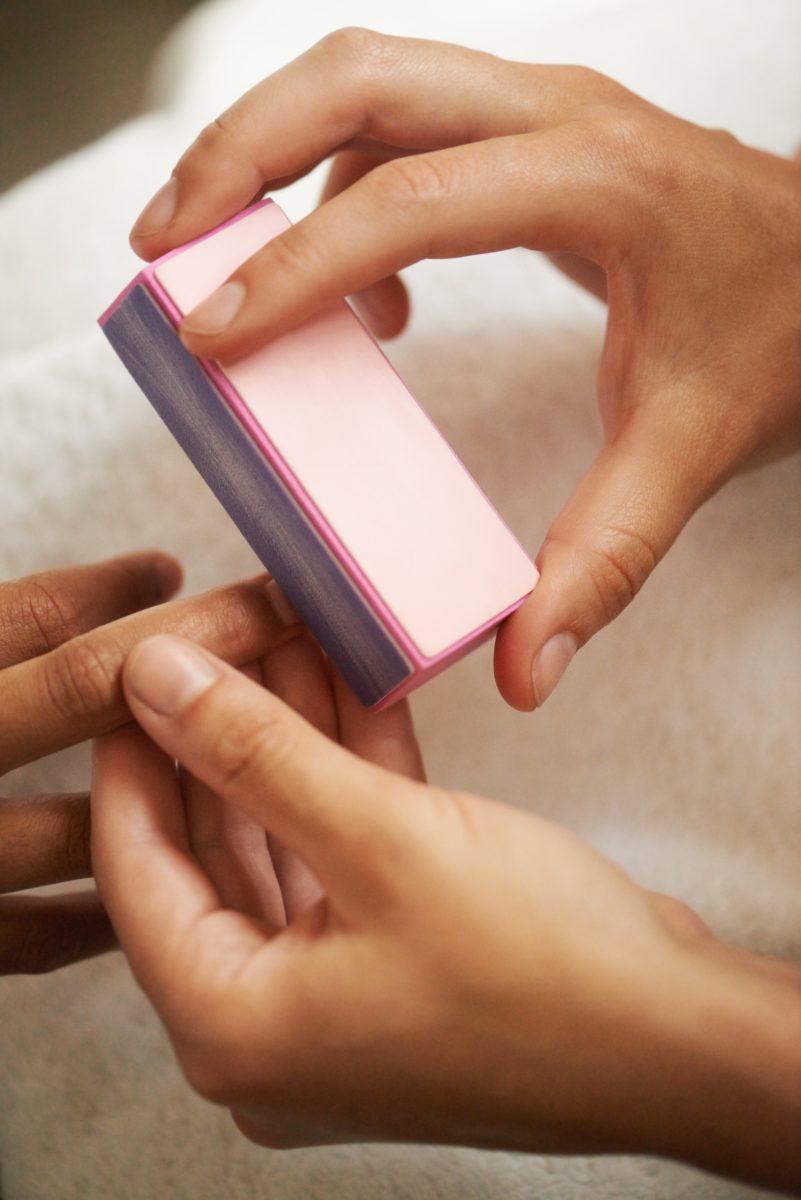
- Remove Shine: Lightly buff the nail surface with a 240-grit buffer to remove shine without damaging the nail plate.
- Purify: Use CND ScrubFresh on a lint-free pad to thoroughly cleanse the nail plate, removing oils and contaminants.
Step 2: Apply CND PLEXIGEL Bonder
- Mix: Gently roll the CND PLEXIGEL Bonder bottle between your palms to blend the product.
- Apply: Apply a thin layer of Bonder to the natural nail, ensuring to seal the free edge.
- Cure: Cure under the CND LED Lamp using Button 1 for 10 seconds.
- Note: Do not remove the sticky layer — it will help the next gel layers adhere better.
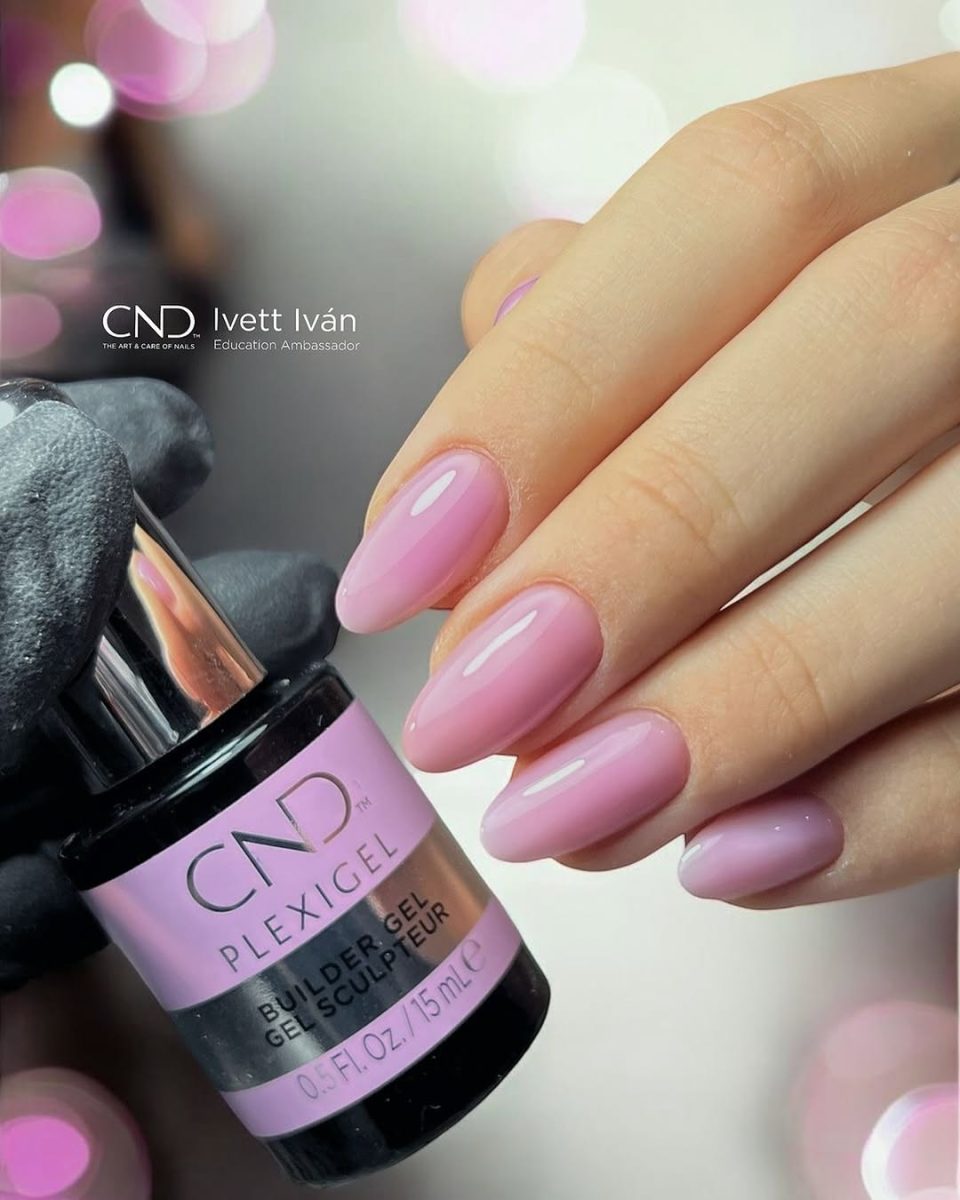
Step 3: Apply Shaper or Builder Gel
Now it’s time to apply the gel, depending on your service:
- Shaper (Overlay):
- Apply a thin layer of Shaper Gel to the natural nail and seal the edge.
- Cure for 1 minute using Button 2B on the CND LED Lamp.
- Apply a second layer if needed to perfect the shape and cure for another 1 minute.
- Builder (Extensions):
- If applying extensions, begin with CND Future Forms or tips.
- Apply a thin layer of Builder Gel to the natural nail and extend the gel over the form to the desired length.
- Flash cure for 10 seconds using Button 1 to freeze the gel.
- Full cure for 1 minute using Button 2B.
- Apply a second layer to build the apex (the strongest point of the nail) and cure again for 1 minute.
Step 4: Shape, File, and Refine
- Once cured, wipe off the sticky layer with 99% IPA.
- File the sidewalls and free edge with a 180-grit file to refine the nail shape.
- Buff the nail with a gentle buffer to smooth out the surface.
- Clean the nails with IPA to remove any dust and debris.
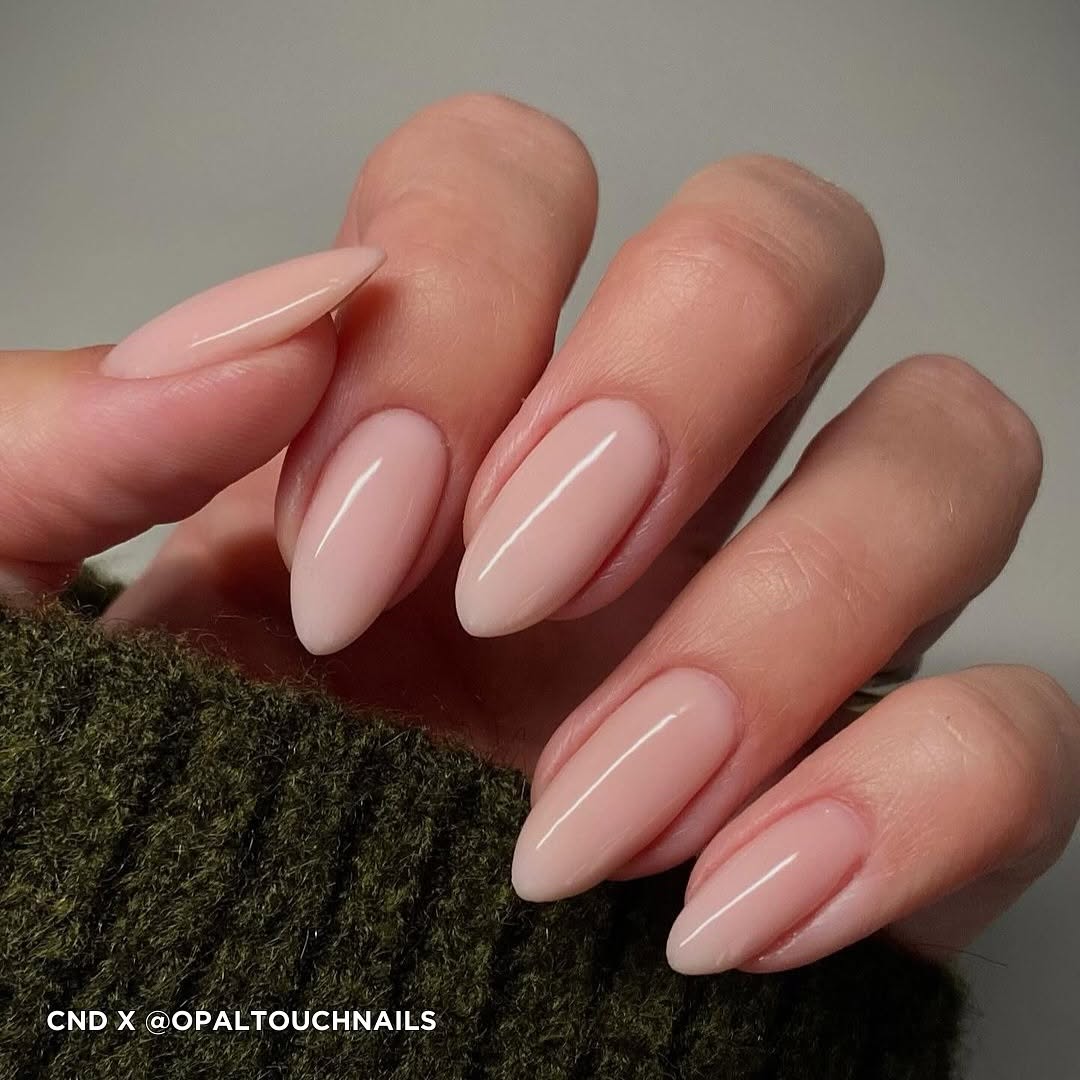
Step 5: Apply CND PLEXIGEL Protector Top Coat
- Mix: Gently roll the CND PLEXIGEL Protector Top Coat to ensure even consistency.
- Apply: Apply a thin, even layer over the entire nail, sealing the free edge.
- Cure: Cure under the CND LED Lamp using Button 3 for 1 minute.
- Finish: Wipe off the top film with a lint-free wipe soaked in 99% IPA to reveal a glossy, smooth finish.
- Condition: Apply CND SolarOil to the cuticles to nourish and hydrate.
View this post on Instagram
View this post on Instagram
View this post on Instagram
Mobile Nail Tech Tips: Mastering PLEXIGEL on the Go
Working as a mobile nail tech comes with unique challenges, especially when it comes to lighting and equipment. Here are a few mobile-friendly tips for applying CND PLEXIGEL:
-
Portable Lighting
-
Workspace Setup
-
Gel Temperature Control
-
Client Comfort
Ensure you have a reliable, travel-friendly LED lamp like the CND LED Lamp. It’s lightweight, but make sure it’s equipped to handle all gel layers, with settings for curing Shaper, Builder, and Protector Top Coat.
Create a clean, well-lit workspace. Invest in a mobile nail station with built-in lights, or use a portable table lamp to mimic salon conditions.
Keep your gels at a comfortable temperature. During colder months, consider using a gel warmer to avoid consistency issues with thicker gels.
Have a portable fan to keep your clients cool during the curing process, preventing any potential heat spikes.
CND PLEXIGEL Troubleshooting
Common Issues and Solutions
Even the best systems can present challenges. Here are some common troubleshooting tips for CND PLEXIGEL:
How to Prevent CND PLEXIGEL Lifting
Lifting is often caused by improper prep or curing. Here’s how to prevent it:
- Proper Prep: Ensure that the natural nail is thoroughly cleansed with CND ScrubFresh to remove oils. This ensures better adhesion.
- Seal the Free Edge: Always make sure the free edge is properly sealed with each layer to prevent any lifting from the edges.
- Curing Time: Ensure proper curing time under the CND LED Lamp. Under-curing can cause lifting.
Dealing with CND PLEXIGEL Heat Spikes
A heat spike occurs when the gel cures too quickly, causing discomfort for the client. To avoid this:
- Thin Layers: Apply thin layers of gel and cure each one separately to prevent overheating.
- Cure in Stages: For thick extensions, consider curing in stages (e.g., flash cure followed by a full cure).
CND PLEXIGEL vs Hard Gel vs BIAB
| Feature | CND PLEXIGEL | Hard Gel | BIAB (Builder in a Bottle) |
|---|---|---|---|
| Formula | Brush-in-a-bottle, flexible & durable | Thicker, often requires sculpting | Brush-in-a-bottle, like PLEXIGEL |
| Ideal For | Natural nail overlays, extensions | Sculpted nails, tips, full coverage | Short to medium-length nails, overlays |
| Curing Time | 1-minute full cure under CND LED | Typically 2-3 minute full cure | 30-60 second cure under LED |
| Durability | 3+ weeks wear with proper care | 2-4 weeks, can be more rigid | 2-3 weeks, similar to PLEXIGEL |
| Ease of Use | User-friendly, no need for forms | Requires sculpting, skillful use | Easy, brush-in application |
| Heat Spikes | Lower chance of heat spikes | Higher risk with thick applications | Moderate risk depending on layers |
FAQs
To prevent lifting, ensure thorough nail prep by cleansing with CND ScrubFresh, sealing the free edge, and curing properly under the CND LED Lamp. Proper sealing of the edges is key!
Yes, CND PLEXIGEL Shaper is designed for natural nail overlays, providing added strength and durability without needing extensions or forms.
To avoid heat spikes, apply thin layers of gel and cure each layer properly. Flash curing extensions and building in stages also helps.
CND PLEXIGEL is a more flexible brush-in-a-bottle gel ideal for both overlays and extensions, while hard gels tend to be thicker and require more sculpting.
Absolutely! Mobile nail techs benefit from the CND PLEXIGEL system’s portability and short curing time, making it an ideal choice for on-the-go services.
While both are brush-in-a-bottle gels, BIAB is specifically designed for overlays, often without the need for extensions, whereas CND PLEXIGEL is versatile and can be used for both overlays and extensions.
The post CND PLEXIGEL Application appeared first on NRU Beauty Blog.